本記事はMicrosoft MVPブログ企画の記事として投稿しています。その他の記事はこちらからご覧ください。
リモートワーク主体の働き方にとってVisual Studio Code *1 のRemote Developmentは役立つツールになります。本記事ではsshによるRemote Development で便利な小技を三つ用意ご紹介します。
踏み台(jumpbox)経由のリモート接続
リモート接続するサーバーにログインする際に、途中に踏み台となるサーバーを介して接続する場合は、~/.ssh/config *2 のProxyCommandの設定を使用します。
次の設定は、server1への接続を経由して、server2-proxyにリモート接続するための設定例です。
# 踏み台への接続設定
Host server1
  HostName 192.168.10.7
  User pi
  IdentityFile .ssh/id_nopass

# 踏み台を経由したVSCodeでリモート接続するための設定
Host server2-proxy
  HostName 192.168.10.17
  User pi
  IdentityFile .ssh/id_nopass
  ProxyCommand ssh -q -W %h:%p server1
なお、WindowsのOpenSSHコマンドには、ProxyCommandに記述するコマンドが「空白を含まないフルパス」でなければならない、という制約があり、以下のIssueが作成されています。 なお、Insider PreviewのFastリングで提供されているOpenSSH 8.1ではこの問題は解消しています。
この場合は、下の例のように、ssh.exe へのパスをフルパスで記述しす。
Host server1
  HostName 192.168.10.7
  User pi
  IdentityFile .ssh/id_nopass

Host server2-proxy
  HostName 192.168.10.17
  User pi
  IdentityFile .ssh/id_nopass
  ProxyCommand C:\Windows\System32\OpenSSH\ssh.exe -q -W %h:%p server1
リモート接続とLive Shareとの併用
VSCode の Remote Development と Live Shareは併用することができます。Remote Developmentで接続した先の環境をLive Shareでチーム内に共有できますので、リモートでのペアプログラミング・ペア作業に役立ちます。
Remote DevelopmentとLive Shareを併用するには、リモート接続先に LiveShare のためのライブラリーのインストールが必要です。初回接続時のインタラクションに従ってインストールします。
必要なライブラリーは、CentOS8の場合は次の通りです。
また、現状では、Remote Developmentの接続先のアーキテクチャーがx86/x64の場合のみLive Shareを併用できます。*3
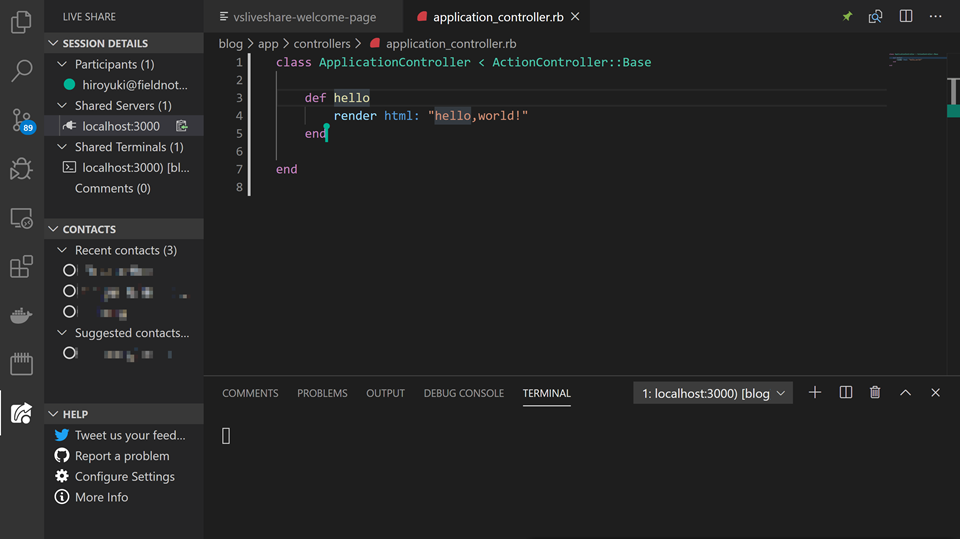
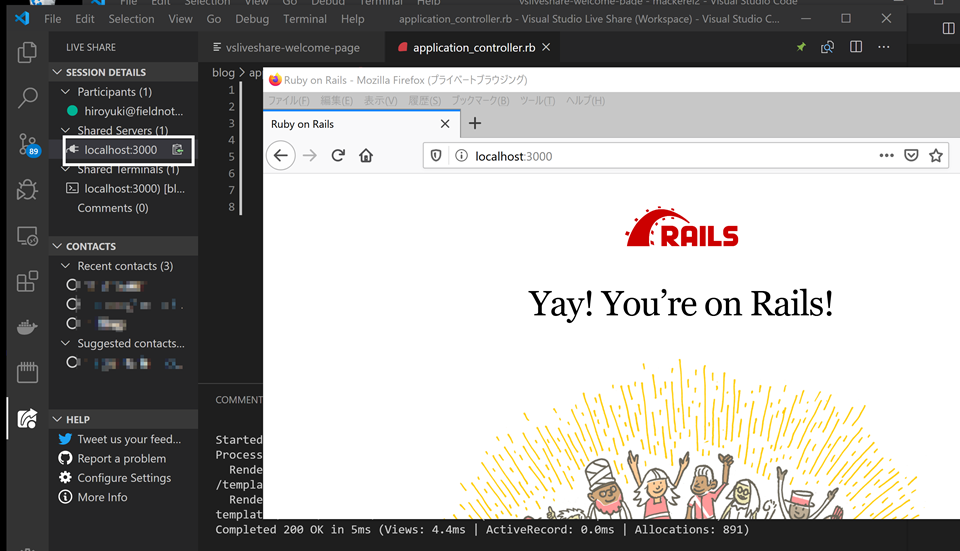
次の画像は、Remote Developmentのリモート接続先をLive Shareで接続して、アプリケーションのポートを共有してブラウザーで表示している様子です。


AWS Systems Manager Session Managerを使用したリモート開発
Amazon Web Services(AWS)のAWS Systems Manager Session Managerでは、Session Managerへの接続を経由して、SSHのポートを外部に公開せずにEC2インスタンスにSSH接続ができます。
VSCodeでも、Session Managerを使用して、EC2にリモート接続が可能です。
Session Managerを使用するには、デスクトップ環境に以下のソフトウェアのインストールが必要です。
- AWS CLI(version 1.16.12 以降)
- Session Manager Plugin for the AWS CLI
また、EC2インスタンス及び、IAMアカウントに、Session Managerを使用するためのIAMロールの設定が必要です。
VSCodeからSession Manager経由で接続を行うには、ソフトウェアのインストールおよびIAMロールの設定を行った後に、SSHの接続設定にProxyCommandでaws ssm start-sessionコマンドを実行する設定を記述します。
Host server3
  User ec2-user
  Identityfile C:\Users\h.onaka\.ssh\ansible.pem
  ProxyCommand aws ssm start-session --target (EC2インスタンスのインスタンスID) --document-name AWS-StartSSHSession --parameters "portNumber=%p"  --profile (CredencialのProfile名)
Windowsの場合は、先に述べたProxyCommandに記述するパスの制限を回避するため、cmd.exe の呼び出しを経由してAWS CLI(aws.exe)を実行します。
Host server3
  User ec2-user
  Identityfile C:\Users\h.onaka\.ssh\ansible.pem
  ProxyCommand c:\Windows\System32\cmd.exe /k aws ssm start-session --target (EC2インスタンスのインスタンスID) --document-name AWS-StartSSHSession --parameters "portNumber=%p"  --profile (CredencialのProfile名)
sshによるRemote Developmentで便利な小技を紹介しました。Remote Development を活用して楽しいVSCode ライフを送りましょう!